Home PageAbout MindatThe Mindat ManualHistory of MindatCopyright StatusWho We AreContact UsAdvertise on Mindat
Donate to MindatCorporate SponsorshipSponsor a PageSponsored PagesMindat AdvertisersAdvertise on Mindat
Learning CenterWhat is a mineral?The most common minerals on earthInformation for EducatorsMindat ArticlesThe ElementsThe Rock H. Currier Digital LibraryGeologic Time
Minerals by PropertiesMinerals by ChemistryAdvanced Locality SearchRandom MineralRandom LocalitySearch by minIDLocalities Near MeSearch ArticlesSearch GlossaryMore Search Options
The Mindat ManualAdd a New PhotoRate PhotosLocality Edit ReportCoordinate Completion ReportAdd Glossary Item
Mining CompaniesStatisticsUsersMineral MuseumsClubs & OrganizationsMineral Shows & EventsThe Mindat DirectoryDevice SettingsThe Mineral Quiz
Photo SearchPhoto GalleriesSearch by ColorNew Photos TodayNew Photos YesterdayMembers' Photo GalleriesPast Photo of the Day GalleryPhotography
╳Discussions
💬 Home🔎 Search📅 LatestGroups
EducationOpen discussion area.Fakes & FraudsOpen discussion area.Field CollectingOpen discussion area.FossilsOpen discussion area.Gems and GemologyOpen discussion area.GeneralOpen discussion area.How to ContributeOpen discussion area.Identity HelpOpen discussion area.Improving Mindat.orgOpen discussion area.LocalitiesOpen discussion area.Lost and Stolen SpecimensOpen discussion area.MarketplaceOpen discussion area.MeteoritesOpen discussion area.Mindat ProductsOpen discussion area.Mineral ExchangesOpen discussion area.Mineral PhotographyOpen discussion area.Mineral ShowsOpen discussion area.Mineralogical ClassificationOpen discussion area.Mineralogy CourseOpen discussion area.MineralsOpen discussion area.Minerals and MuseumsOpen discussion area.PhotosOpen discussion area.Techniques for CollectorsOpen discussion area.The Rock H. Currier Digital LibraryOpen discussion area.UV MineralsOpen discussion area.Recent Images in Discussions


Mineral PhotographyDifficult to Photograph Minerals - Tips/Strategies for Success

27th Mar 2014 02:13 UTCAnonymous User
My idea for this thread is for anyone who is interested to share photos of mineral specimens they have found difficult to photograph with a description of the problems encountered and solutions they found in the process, with the hope that others can add either additional tips that have worked for them, or other examples of difficult to photo minerals. From all of the great photos I have seen on this board I am sure there are more than enough mineral photographers here for us all to improve our skills and take better pictures.
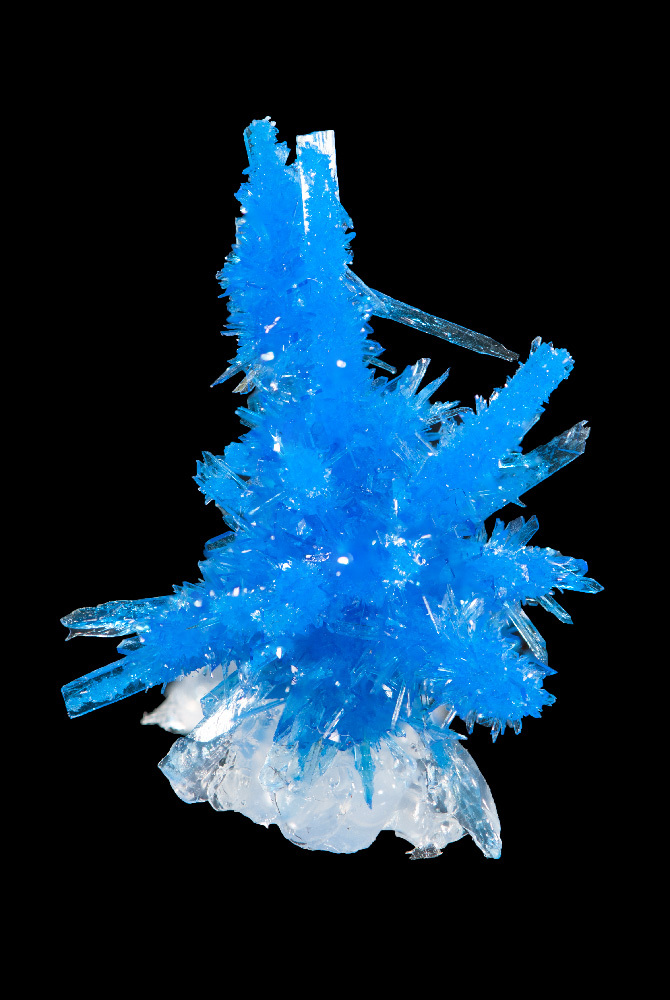
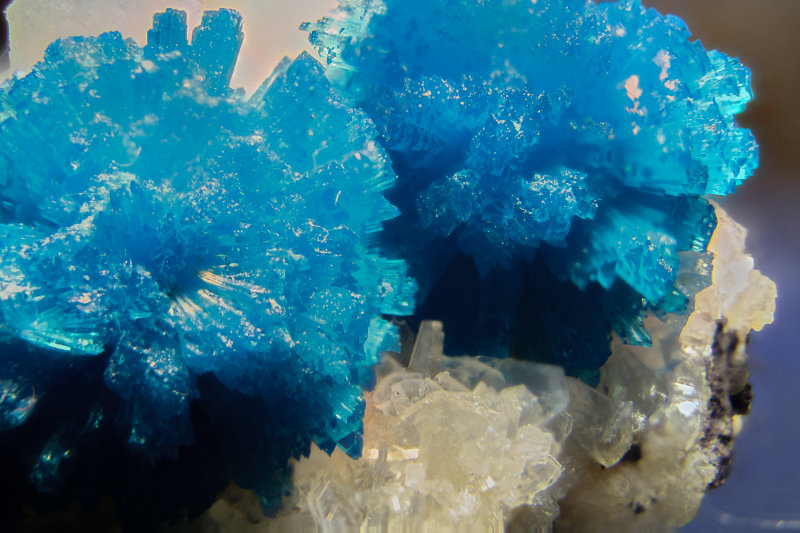
One of the minerals I have tried to capture recently has been my lone basic sample of Cavansite on Heulandite. I wanted to see how close I could come to the electric neon blue this mineral is noted for, and thought it would be a good test to see how much detail I could get in focus with my 30 day trial version of the Zerene Focus Stacking software. The following pics are the best of nearly 100 total taken with my recently upgraded Canon 70D with basic Sigma 24-80 using the macro setting on the lense at 80MM. All were taken from a sturdy tripod using a 2 second shutter delay to calm vibrations from pressing shutter release.
Top view of specimen that is on a just over 5cm base (Single Photo 2s F22).
http://www.pbase.com/bjorn_b/image/154821998/large.jpg
Close-up attempt using both 12mm extension tube and macro filter added to front of lense (15 stacked images taken at F11 manually focused from front to back). Example of overall poor result. Though most individual images have an area of focus the resultant stacked image is generally out of focus for an unknown reason.
http://www.pbase.com/bjorn_b/image/154862329/large.jpg
Better result of 15 stacked images with only 12mm extension tube. My navy blue wallet probably not best choice of background prop.
http://www.pbase.com/bjorn_b/image/154890695/large.jpg
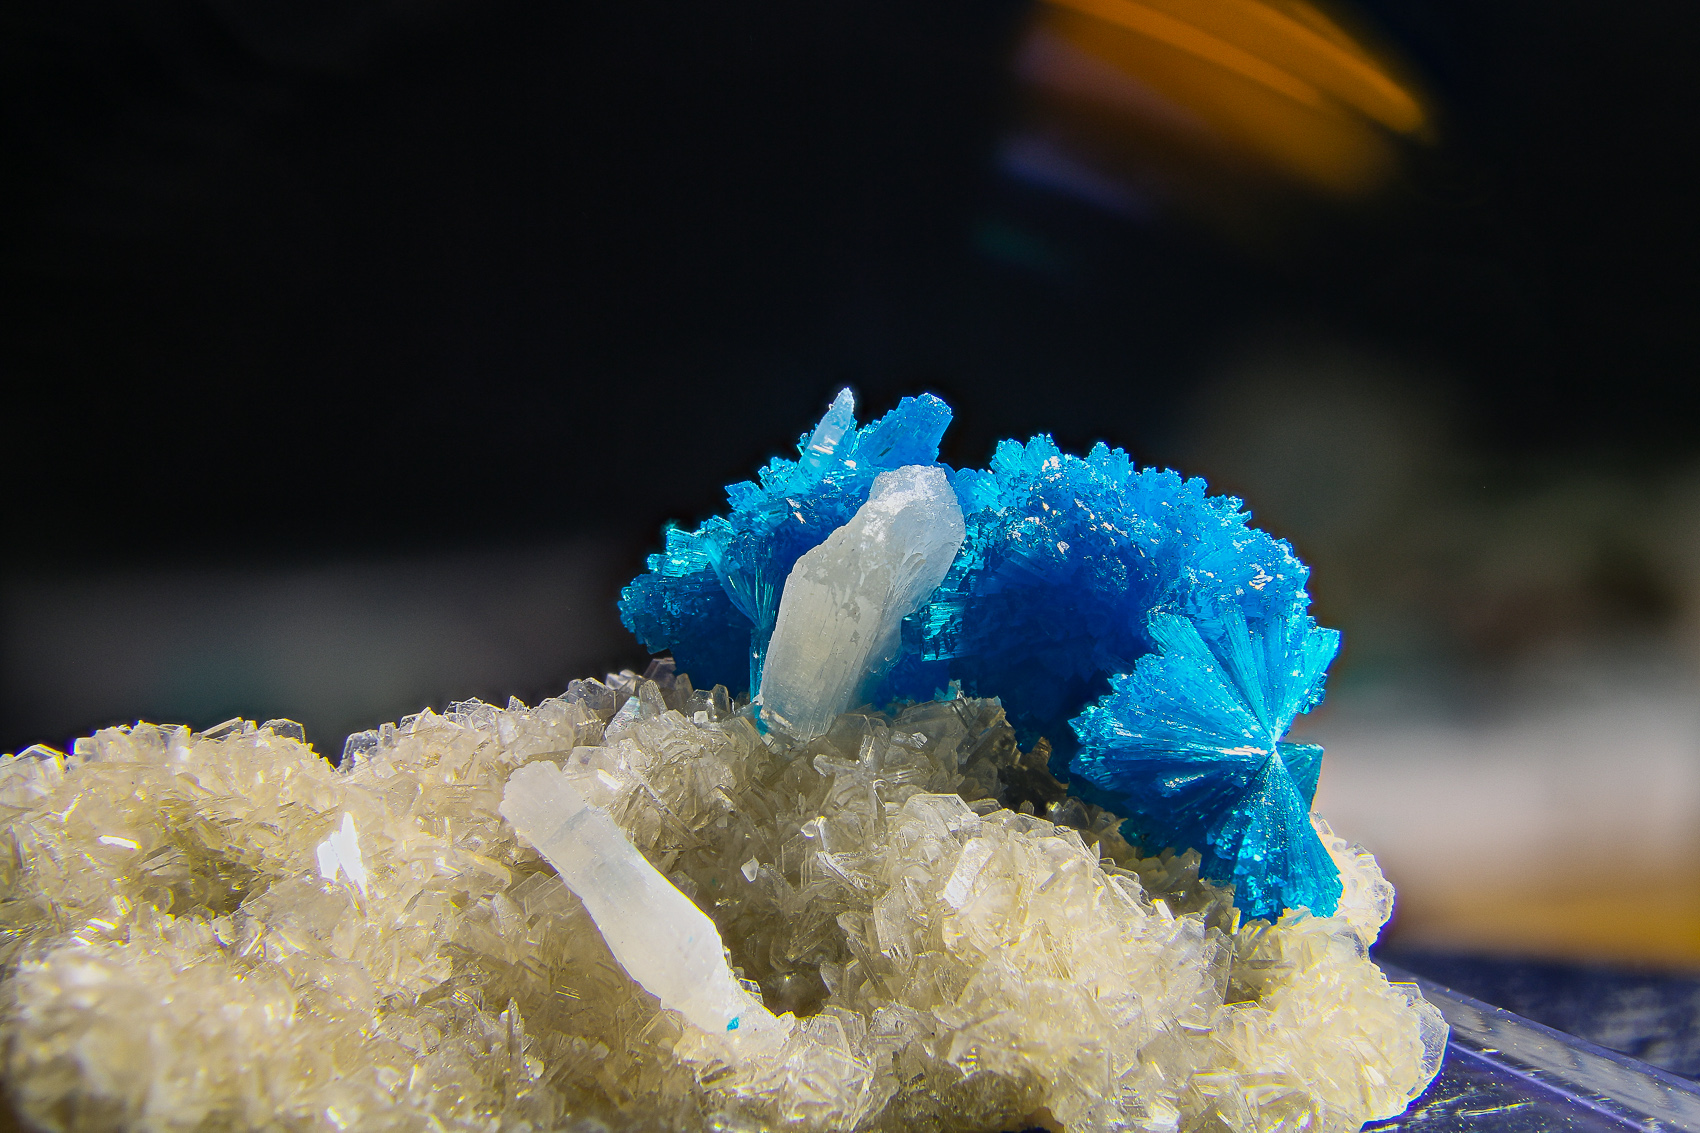
Best result of 15 stacked images with only 12 mm extension tube taken at eye level with an led flashlight in addition to my daylight desk lamp. The straight on angle and blurred background add an apparent depth of field to the subject for a more pleasing to me image. Biggest unplanned flaw is out of focus area front left. Probably also a good idea to add a black background to avoid distracting colors in background.
http://www.pbase.com/bjorn_b/image/154890696/original.jpg
No matter how I tried to adjust colors in Adobe Lightroom I did not even come close to accurately reproducing the electric blue color I was hoping for. From the number of photos with similar colors I was able to find with a Google search I am thinking this may well reflect a limitation of modern digital sensors. I am curious if anyone has found anything that helps minimize this kind of limitation. I am not sure I am seeing any improvement in this regard from my 2002 vintage Canon D60, which is several generations older technology.
Last notable problem seen in many of the photos are the sort of cloudy blue areas that are seen to some extent in all of the images. Not sure what could be causing this result or how to fix it.
If you have made it this far, please excuse that it took me so many words to reach the end. I am fairly certain that it could have been presented just as well with only 1/2 so many words.

27th Mar 2014 02:56 UTCDouglas Merson 🌟 Expert
My problem ones are dioptase and azurite.
27th Mar 2014 03:11 UTCAnonymous User

27th Mar 2014 12:46 UTCAndy Lawton
With regard to getting the colour right, if the in-camera auto white balance doesn't get it right, I usually shoot a test shot with a neutral grey card in the background & adjust the white balance using the click white balance option in Canon's DPP software or in Photoshop. I'll have a go at photographing a cavansite this weekend (& no doubt drive myself batty trying to get the colour right!).

27th Mar 2014 12:56 UTCRonnie Van Dommelen 🌟 Manager

27th Mar 2014 16:28 UTCNorman King 🌟 Expert

27th Mar 2014 16:55 UTCVolker Betz 🌟 Expert
I did a couple of experiments. In some cases its just that you separate the light for specimen and backbround.
One light for both may not work in some instances. Its works best if background is out of focus in some distance.
Regerds
Volker

27th Mar 2014 18:02 UTCRonald J. Pellar Expert

27th Mar 2014 19:12 UTCEugene & Sharon Cisneros Expert

Aside from color problems, which Ron and others have well addressed, I see some basic macro and stacking problems in your second image.
1. The image was shot with the lens set to f11. At 1:1, the effective f-stop is Effective f-stop = f-stop X (1 + Magnification) = f22. If you are shooting at greater than 1:1, then the effective f-stop is even larger. While this increases DOF, the image will suffer from diffraction effects. Nearly all camera lenses have best resolution around f5.6 or f8, perhaps two f-stops from wide open. Since you are stacking, the reduced DOF just means more images in the stack. For thumbnail size specimens, I find that ~10 images is usually enough to give good DOF for the area of interest. I usually don't use enough images in the stack for all of the image to be in focus, as it often looks to flat that way. Some out of focus areas in front of, and/or behind, the area of interest can give an effect of depth.
2. In that same image I see what is called focus banding. There are areas at the front and rear of the stacked image that are in focus and some out of focus areas in the middle of the specimen. This is a result of the focus steps being uneven and/or not overlapping. Here is a simple illustration of the criteria for proper stacking.
3. If you are doing the focus steps at 1:1, or greater, by changing the lens focus, you may not get the best results. Often, leaving the lens focus set and moving the specimen, relative to the lens, will produce better results. This depends upon the design of the lens. Most macro lenses extend the front elements when changing focus, which also changes the magnification slightly. The newer macro lenses that have internal focus, work the best for focus stacking. The Canon macro lens that I use has internal focus that can be controlled from the computer in very fine increments, which makes focus stacking accurate and easy to do.
Practice makes perfect.... though, most of us don't have enough time left to become perfect. :-)
Gene
27th Mar 2014 20:20 UTCHenri Koskinen Expert
I haven't heard before about Cyrene focus stacking software. I am using Helicon Remote, which also has a 30 day free trial. In HR you connect the camera to your computer through usb port and run the camera from there in Live View. Are you using Live View in stacking? Live View means that the mirror is locked up and does not flip and induce vibrations to your camera while shooting. 70D has also some kind of silent mode. Are you using it? Silent mode makes a big difference in terms of sharpness.
Colors are very sensitive to lighting. There is a measure called CRI (color renderition index) that tells how good your light source is in rendering the colours. Many leds are very bad in this respect, especially in the blue/green area of the spectrum. If you are not familiar with CRI you could put some effort there. Also using direct lighting without any diffusers brings many problems with shiny surfaces, as others in this thread have already pointed out. Also all transparent surfaces pose their own special problems especially in stacking algoritms.
As Gene pointed out your lense has a certain best apperture for sharpness, It is called the sweet spot of the lense and it is probably somewhere around 4 - 5.6. You should use that as stacking takes care of depth of field. You could test this your self easily.
Gene also pointed out that your focusing steps are too big resulting in unsharp bands in the stacked photo. Helicon remote computes automatically the requiered stepsizes and this should not be a big problem for you.
I struggle with the same problems as you and merely comment as an another wannabee. There is just so much to learn, but that's the fun part of the hobby.
Henri
28th Mar 2014 00:11 UTCAnonymous User
Andy my basic experience with about 100,000 images since getting my first digital camera in 1999 is that the camera generally does a good job with white balance, and if it needs to be adjusted it is relatively easy to do for one image or a batch of images in Lightroom.
Ronnie I tend to agree with you that there are just certain colors that digital sensors have a hard time reproducing.
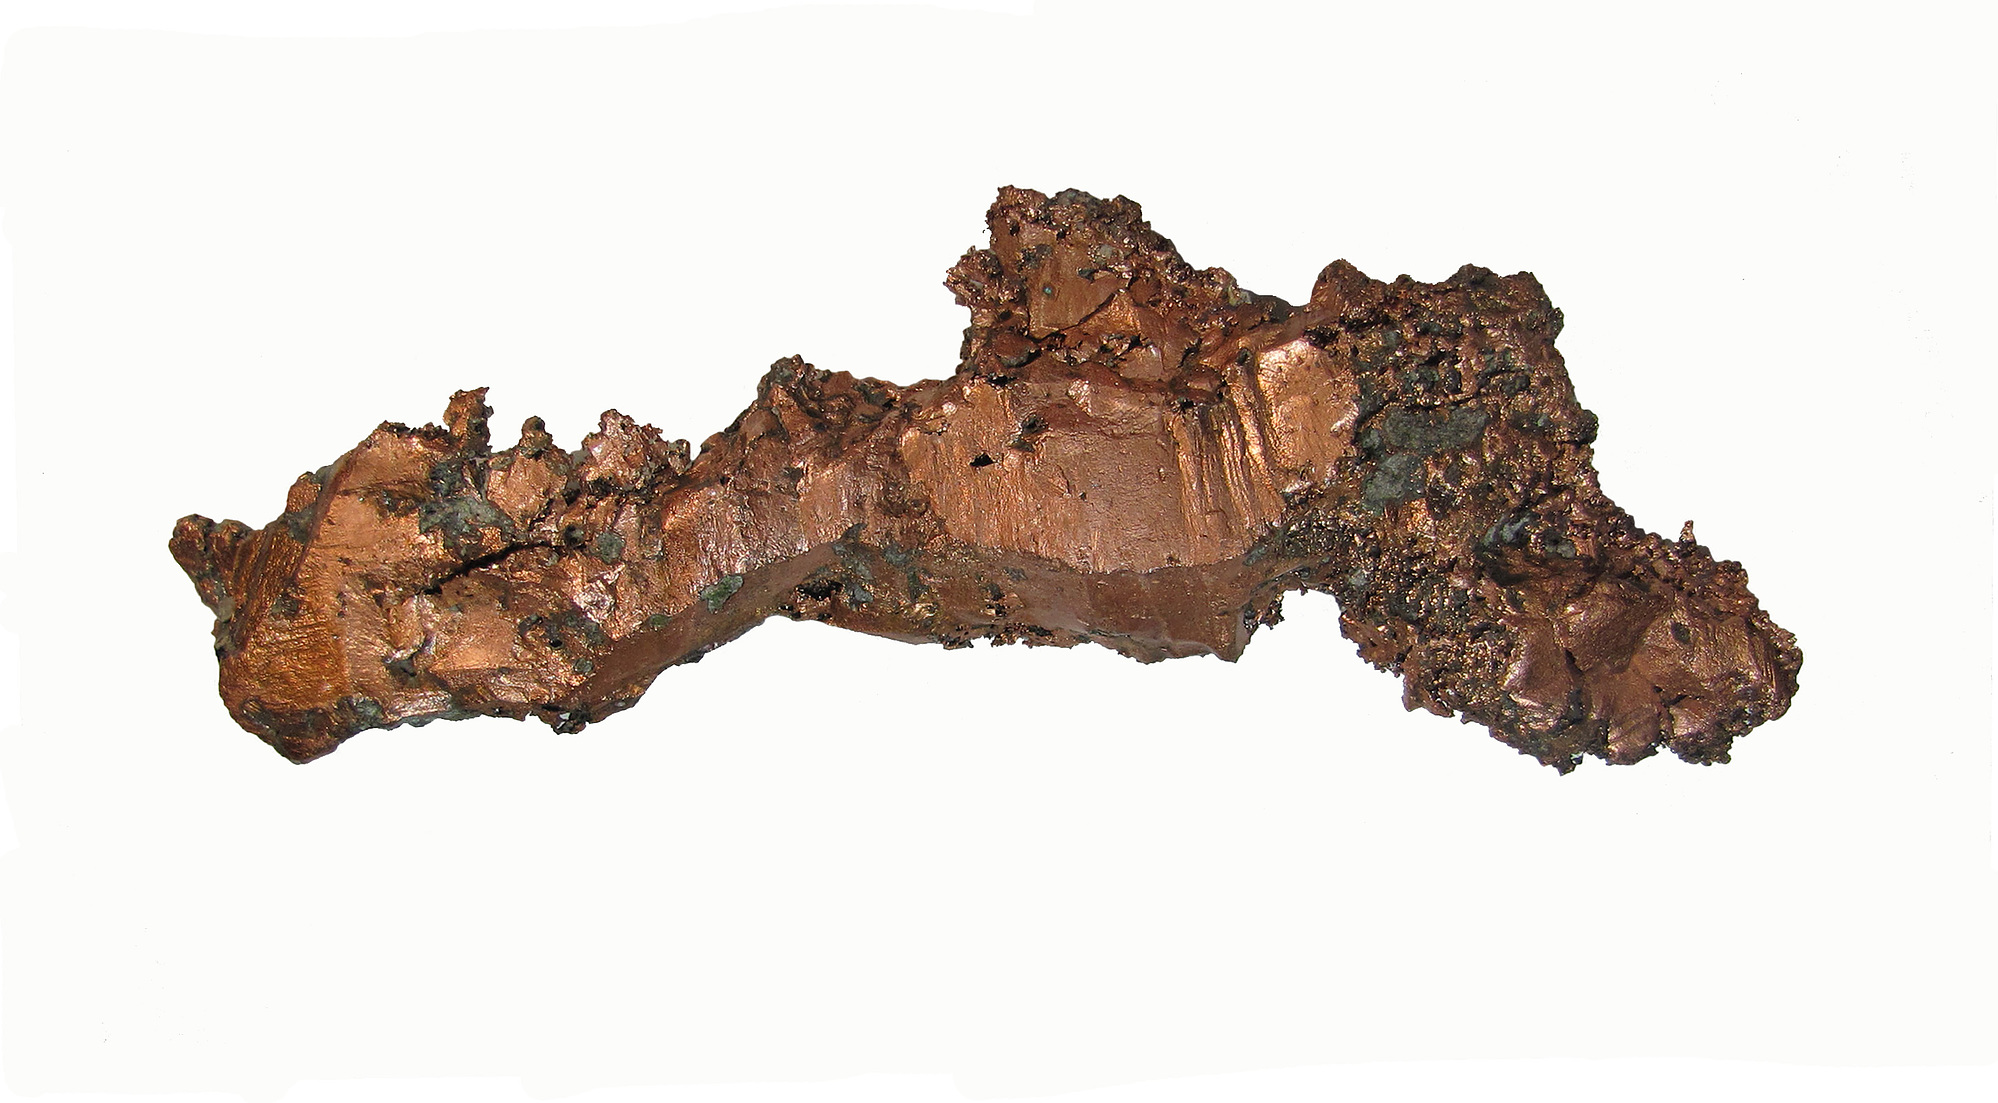
Norman I have also had difficulty with metallic specimens. I agree with Volker to try and shoot from an angle that you can blur the background.
Ronald I agree that lighting can make a big difference in the results we get and that halogen is one of the better sources. I think that some of the more recent LED's around 5000K are getting much better, and will last a long long time.
Gene I had not considered that the effective f-stop would increase with greater magnification. My understanding is that diffraction can be a particular issue around round objects like the cavansite rosettes. Choosing f11 I thought I was just increasing 1 stop above the sweet spot around f8 to increase the DOF for each image with the hope that it insured I overlapped each image at least a little. I am considering a focus rail to move the focal plane by moving the camera, and would one day like to add the Canon 100 F2.8L macro to my lens inventory.
Henri Cyrene (Ops I Meant Zerene Stacker) is the main competitor to your Helicon software. I plan to try the Helicon when my 30 day trial is over with Cyrene before I decide which one to purchase. I need to try connecting the camera to the computer and let it automate the focus steps, which surely should be better than trying to do it manually. I didn't use the silent mode as I used mirror lockup and 2s shutter delay instead, though I have heard likewise that it does help minimize vibrations.
28th Mar 2014 02:13 UTCEugene & Sharon Cisneros Expert
Resolution is directly proportional to f-number and the average wavelength of light illuminating the subject and is approximately 1.22 x lambda x f-number. It affects everything in the image, not just around certain structures. So, increasing the f-number always reduces the resolution of the whole image.
BTW, I have the Canon EF 100mm Macro 2.8 USM and it is a joy to use, especially when the camera is tethered to the computer. The focusing is done inside of the lens so the distance to the subject doesn't change. If you do macro and are not interested in micro, then this lens is the way to go. It's expensive, but a large part of the cost is defrayed by not having to use an automated focus rail, like the StackShot.
If you are referring to Zerene Stacker, it is acknowledged by most, in the macro community, to be the best. While it won't control the macro lens, like Helicon, the finished results are better in my experience. The free software supplied by Canon will control the lens just fine.
Gene
28th Mar 2014 22:54 UTCRonald J. Pellar Expert
Another point to consider for macrophotography stacking, is that focus stacking is considerably easier and convenient using software that interfaces to the camera by USB cable. In particular, camera control software from the same manufacturer as the camera, will usually provide a means of setting the focus increment size. Using live view to establish the focus of the first photo in the stack is easy with magnification settings. Then increment and shoot makes the process easy. The last photo in the stack can be determined by the live view with magnification. At least, the Nikon Camera Control Pro 2 provides this capability for most of the Nikon DSLRs. I assume that other camera manufacturers, Canon, etc., also provide these capabilities.

29th Mar 2014 02:08 UTCOwen Lewis
You've got burn-out in that pentagonite shot Ron, or..?
29th Mar 2014 17:07 UTCRonald J. Pellar Expert
The only burnout is in the highlights. It is impossible to locate the four lamps to avoid all direct reflections. The blue is properly exposed, i.e., no burnout.
29th Mar 2014 22:52 UTCOwen Lewis

Here's a macro shot of 7ct faceted spinel imaged between crossed polars to kill all reflections from the polished facets. A second effect of the polarisation with *this* specimen is to show the strain set up in the some of the inclusions within the host specimen.
Here's an image (made by a MINDAT friend, using a point-and-shoot camera and a single bedside light with a diffused tungsten bulb.This suffers from the same problem as in your shot I think. Here's a copy of the original image before re-touching to remove the 'white dust, before proceeding to some cropping etc.


Hope this helps.
30th Mar 2014 00:20 UTCAnonymous User
Made another couple of stacking attempts with the cavansite using a portable checkered vinyl wall greenhouse to diffuse some sunlight. Unfortunately with the smaller DOF with F5.6 made it too difficult to manually focus with sufficient image overlap and I did not end up with any sharp images.
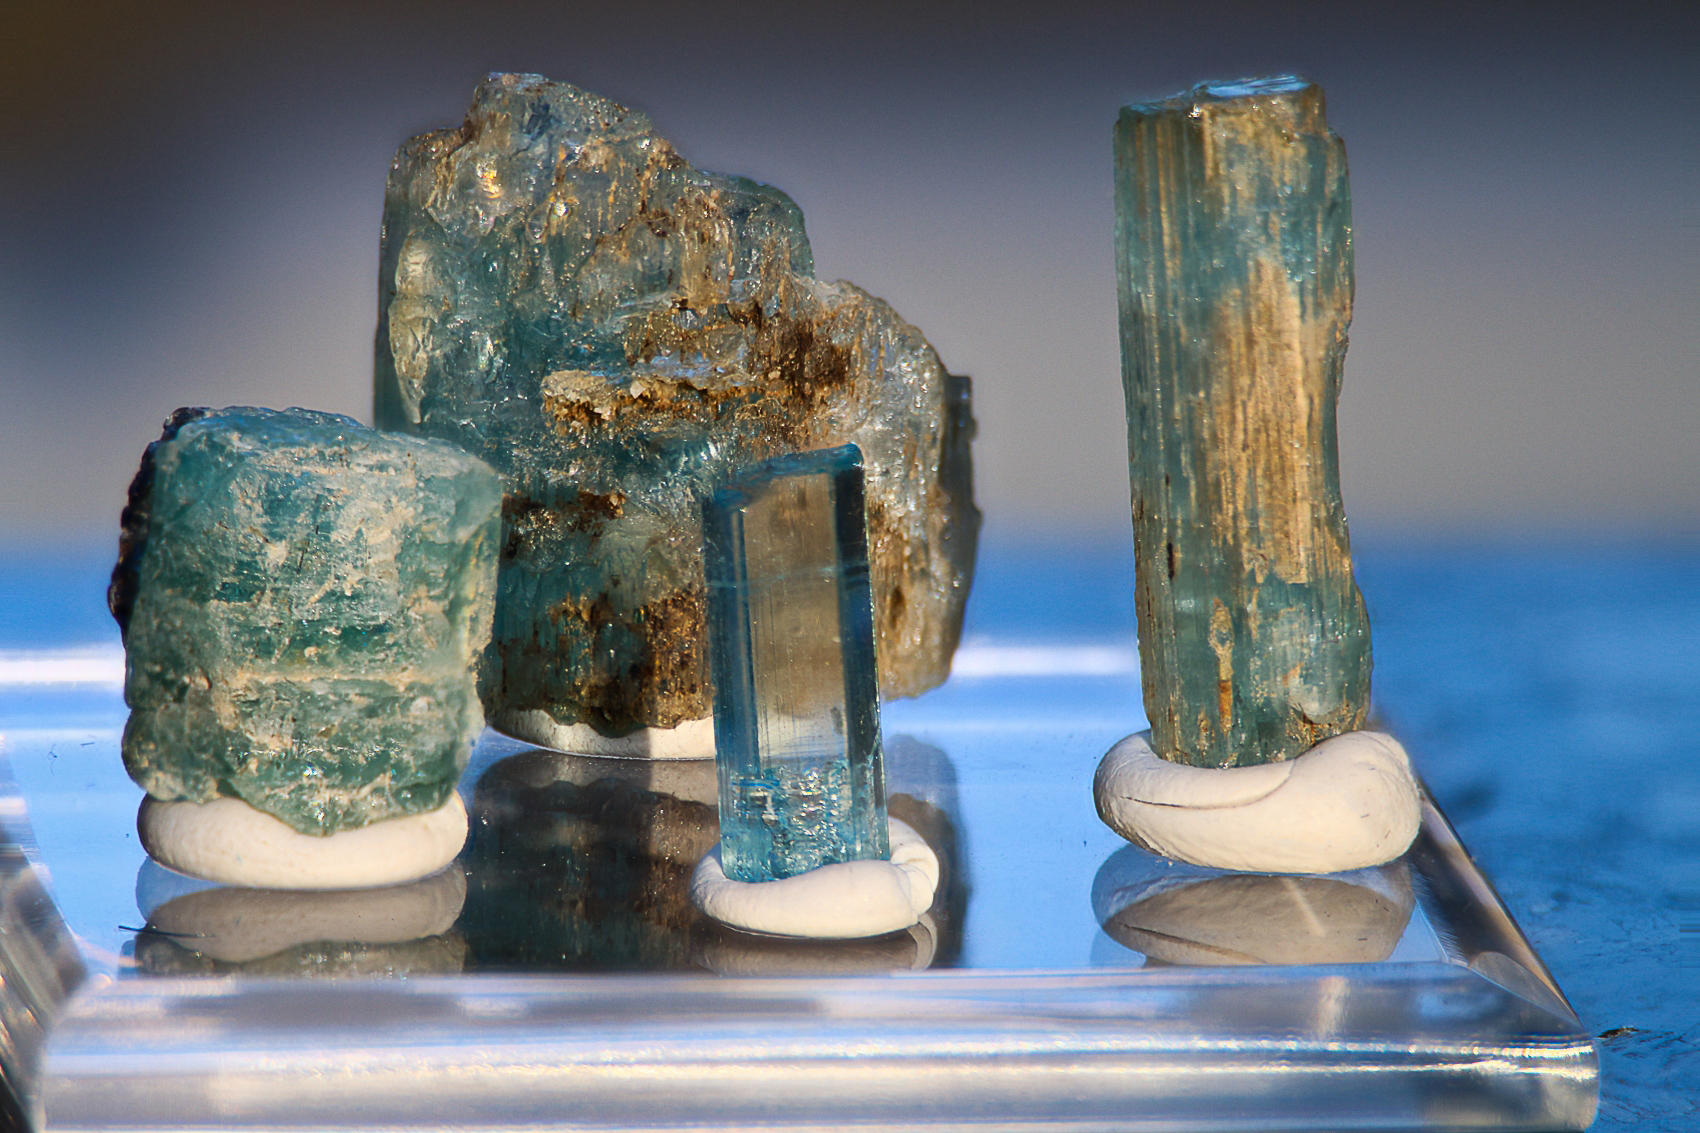
Did a little better with these self collected Mt. Antero/Mt. White Aqua specimens.
Taken with same macro lens as above at F8. Colors for this one are very close to the actual specimens.
http://www.pbase.com/bjorn_b/image/154811020/original.jpg
Took this one using my wildlife/sports telephoto (Canon 300 F2.8L) to see what I could do taking a telephoto approach. As is usually the case the setting sunlight really is not the best approach if you are looking for natural colors under normal lighting.
http://www.pbase.com/bjorn_b/image/154811031/original.jpg
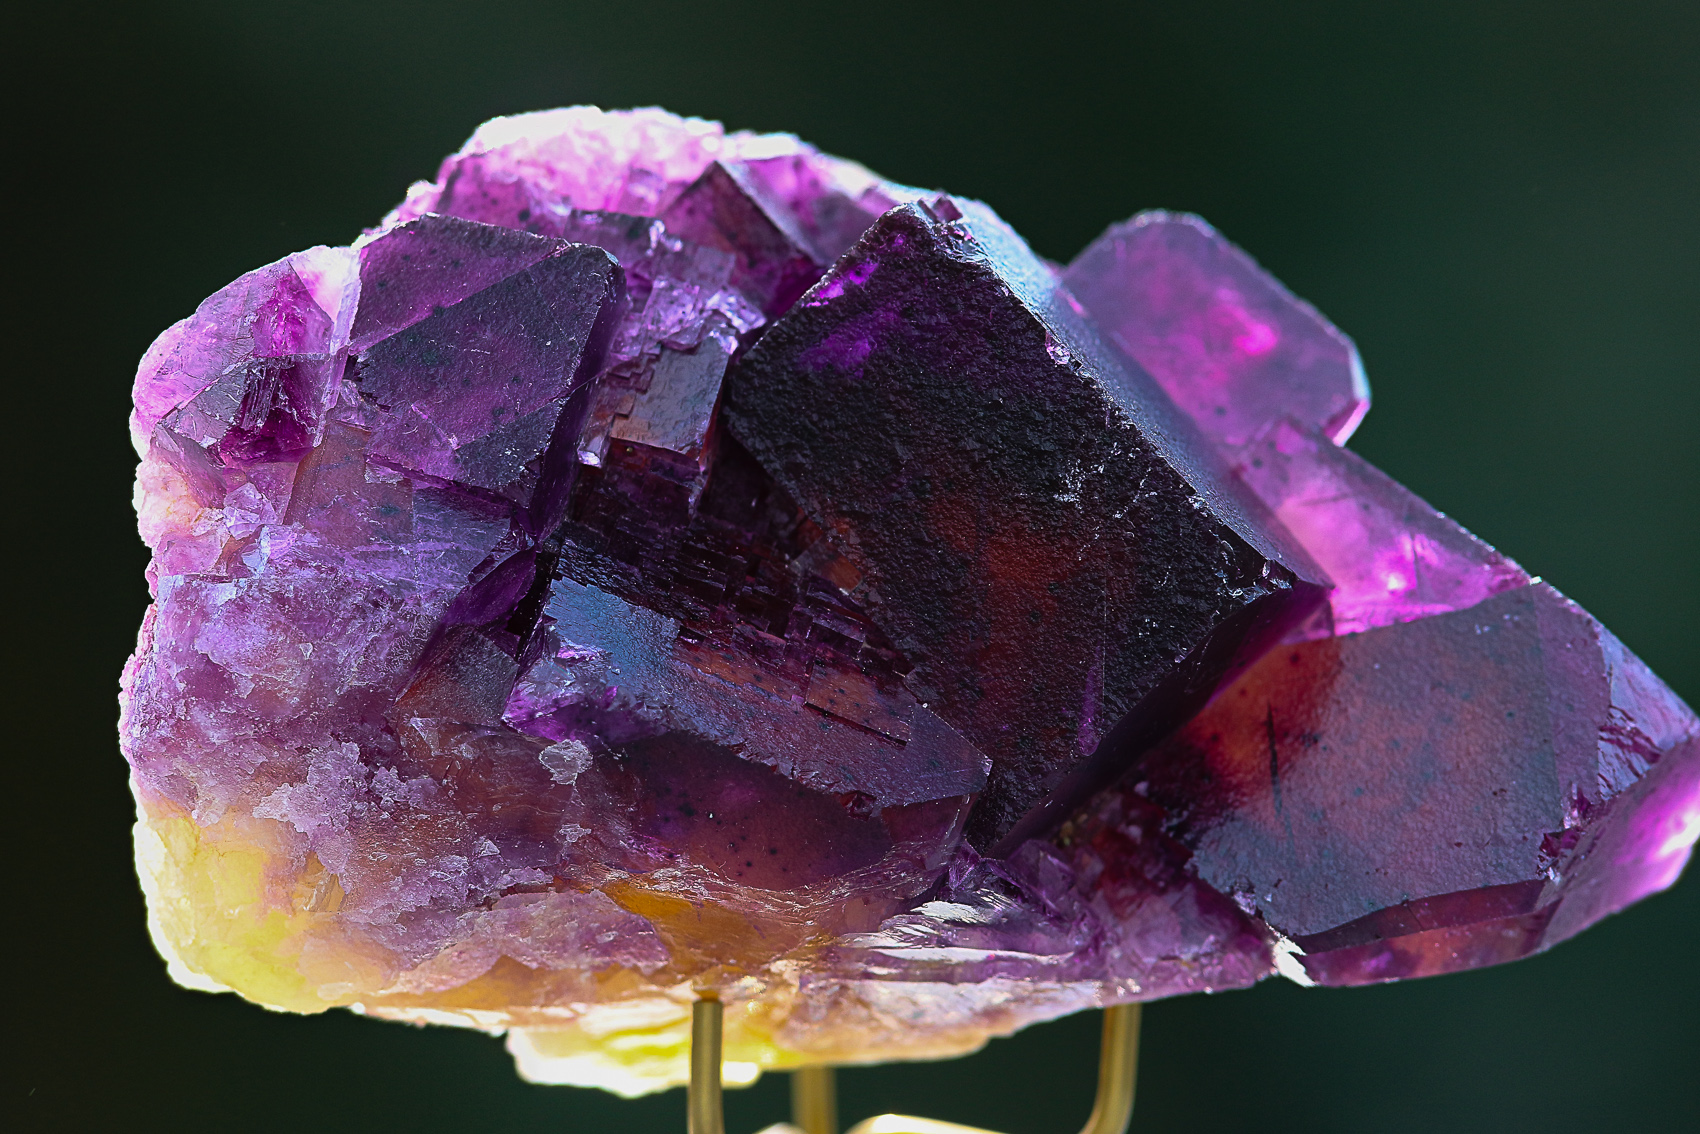
The telephoto lens can be a good choice for larger specimens like this Elmwood Flourite (16x9x7 cm with largest cube at 5.5cm). This was the first mineral specimen that I spent more than $10 on back in 1983, and has always been difficult for me to get a good picture of.
I think this was best overall result. The trick for me to get decent exposure of this one was to adjust the exposure down by 2 stops as for some reason this one was always over exposing at the auto settings. Taken indoors in a darkened room set on a coffee table with a dark sofa 10 feet in the background 1/1250S at F4 with flash.
http://www.pbase.com/bjorn_b/image/154867875/original.jpg
This one was taken outdoors with green plants in the distance (Stack of 3 from minimum focus distance). Best sharpness of main crystal.
http://www.pbase.com/bjorn_b/image/154867876/original.jpg
Most accurate color reproduction. Screen from patio table it was sitting on not the best.
http://www.pbase.com/bjorn_b/image/154867877/original.jpg
This is example of one taken with auto exposure with the Sigma macro lens. Overexposure with sun in background only highlights the interior of the specimen.
http://www.pbase.com/bjorn_b/image/154104804/original.jpg
Just so many ways to take pictures I am thankful for digital technology. At least I don't have to pay all of the development costs for all of the missed opportunities.
30th Mar 2014 03:48 UTCOwen Lewis

DOF control is as old a concern as optics. My view is that where one can exploit the effect to one's advantage, one should. Where one can't - and there are occasions when one really can't - then reach for the image stacking software.
Here's an example of where one can't get what one wants except by making DOF limitations work for one - and leaving the stacking software alone. Subject is a part of a hydrothermally grown quartz crystal appox 90x20x13mm, grown on a seed plate. In this first macro shot through the 13mm dimension, image stacking was used; the aim being (1) to image the seed plate and (2) to capture the unusual growth structure on one face of the crystal (the far face from the camera) that is never found in naturally formed quartz, or so I believe. To show up any strain in the crystal. this macro shot below has taken in air between the crossed polars of an Eickhorst M2 polariscope. The lighting is the fluorescent tube of the M2; this is of a modern design and has a colour rendering index of 90. Viewed in unpolarised light, the quartz is absolutely colourless.
The resulting stacked shot is a nice shot of the growth pattern on the far side but this is so 'busy' that one has to search for signs of the seed plate about halfway down the crystal and the eye does not register its features readily.
So a second shot, unstacked, and using the DOF limitation to eliminate all the clutter and isolate the seed plate from the background. The magnification looks a little higher but that has been achieved simply by cropping the image a little tighter, the purpose being to make the two phase inclusions in the seed plate just visible :-) I must have another go at those some time under the microscope.
Re. that spinel shot. That too was done in air using the M2 polariscope and its lighting and not with the stone in immersion.
With regard to your comment that the quality (colour rendering) of day light is not as controllable as are good artifical lights of certified performance, I agree. However, do try a North light (sky only) and best of all on a cloudy day. The uniformity of this in terms of colour temperature and hence the effect on light coming to the eye from a subject of interest, is what daylight - especially direct sunlight - from any other direction lacks. It's particular benefits were discovered by medieval painters and it is still widely used even today for the making and appreciation of visual images. Of course, this is only true for those living in the northern hemisphere. In the southern hemisphere, use a South light.
14th Mar 2015 15:40 UTCJyrki Autio Expert
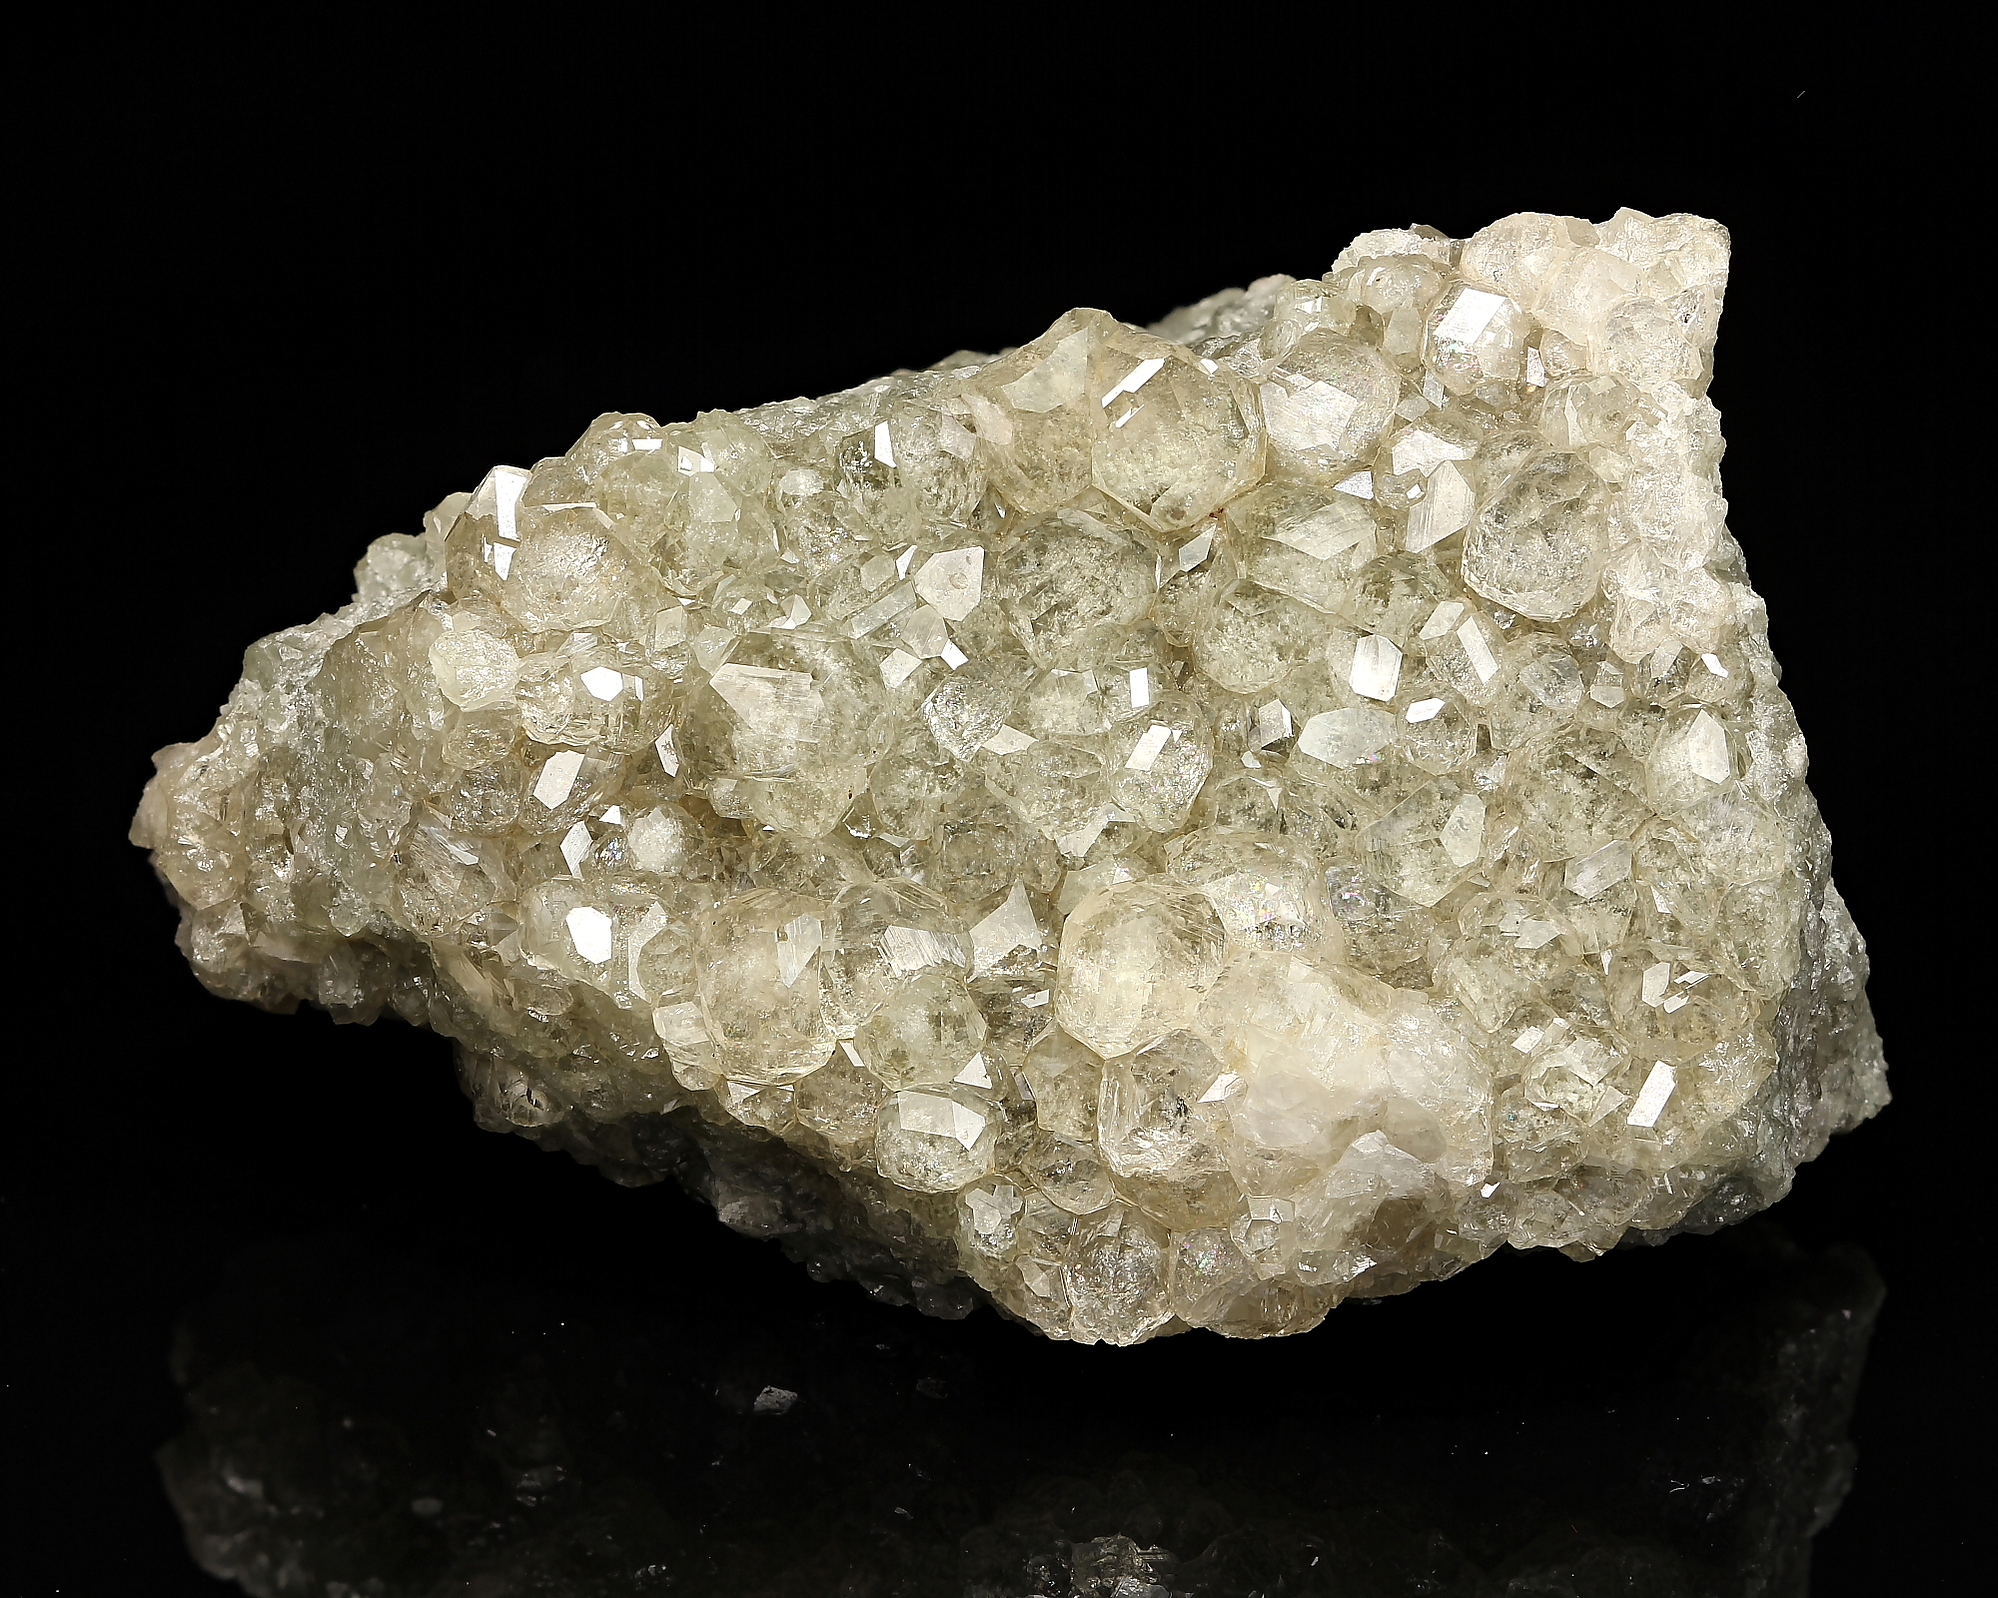
This was moved from public to user only galleries and I can see why.
Because it is one of my better specimens, I would like to know how can I improve picture quality.
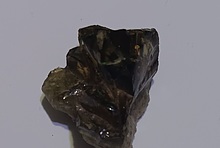
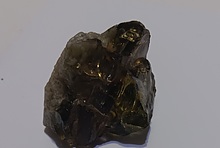
Garnets are very clear and it is hard to make sense of the forms by looking at the specimen.

15th Mar 2015 10:20 UTCRock Currier Expert
15th Mar 2015 14:57 UTCJyrki Autio Expert
Looks already better.


Mindat.org is an outreach project of the Hudson Institute of Mineralogy, a 501(c)(3) not-for-profit organization.
Copyright © mindat.org and the Hudson Institute of Mineralogy 1993-2024, except where stated. Most political location boundaries are © OpenStreetMap contributors. Mindat.org relies on the contributions of thousands of members and supporters. Founded in 2000 by Jolyon Ralph.
Privacy Policy - Terms & Conditions - Contact Us / DMCA issues - Report a bug/vulnerability Current server date and time: April 19, 2024 03:13:07