Home PageAbout MindatThe Mindat ManualHistory of MindatCopyright StatusWho We AreContact UsAdvertise on Mindat
Donate to MindatCorporate SponsorshipSponsor a PageSponsored PagesMindat AdvertisersAdvertise on Mindat
Learning CenterWhat is a mineral?The most common minerals on earthInformation for EducatorsMindat ArticlesThe ElementsThe Rock H. Currier Digital LibraryGeologic Time
Minerals by PropertiesMinerals by ChemistryAdvanced Locality SearchRandom MineralRandom LocalitySearch by minIDLocalities Near MeSearch ArticlesSearch GlossaryMore Search Options
The Mindat ManualAdd a New PhotoRate PhotosLocality Edit ReportCoordinate Completion ReportAdd Glossary Item
Mining CompaniesStatisticsUsersMineral MuseumsClubs & OrganizationsMineral Shows & EventsThe Mindat DirectoryDevice SettingsThe Mineral Quiz
Photo SearchPhoto GalleriesSearch by ColorNew Photos TodayNew Photos YesterdayMembers' Photo GalleriesPast Photo of the Day GalleryPhotography
╳Discussions
💬 Home🔎 Search📅 LatestGroups
EducationOpen discussion area.Fakes & FraudsOpen discussion area.Field CollectingOpen discussion area.FossilsOpen discussion area.Gems and GemologyOpen discussion area.GeneralOpen discussion area.How to ContributeOpen discussion area.Identity HelpOpen discussion area.Improving Mindat.orgOpen discussion area.LocalitiesOpen discussion area.Lost and Stolen SpecimensOpen discussion area.MarketplaceOpen discussion area.MeteoritesOpen discussion area.Mindat ProductsOpen discussion area.Mineral ExchangesOpen discussion area.Mineral PhotographyOpen discussion area.Mineral ShowsOpen discussion area.Mineralogical ClassificationOpen discussion area.Mineralogy CourseOpen discussion area.MineralsOpen discussion area.Minerals and MuseumsOpen discussion area.PhotosOpen discussion area.Techniques for CollectorsOpen discussion area.The Rock H. Currier Digital LibraryOpen discussion area.UV MineralsOpen discussion area.Recent Images in Discussions


Techniques for CollectorsFound My First Micro Specimen, Need Pointers On Micromounting

19th Aug 2018 01:11 UTCAidan de Haan


19th Aug 2018 02:26 UTCPaul Brandes 🌟 Manager
You will quickly discover that micromounting is very addictive, and that micros have a habit of multiplying rather fast! I'm sure you will get plenty of better tips from our resident micromounters than I could ever give...
19th Aug 2018 04:33 UTCRobert Rothenberg
Milton Speckels wrote a pamphlet called "the complete guide to micromounting" in the 1960's.
Quinton Wight wrote a book with the same title in the 1990's. It is a good deal larger.
Both works have good information about making a micromount. As Paul said, it is addictive,. I would add that unless you want to enter competitive displays, the directions about making a micromount in either book should be considered a guideline, not scripture.
I hope you find it as enjoyable as I have over the years.
Bob
19th Aug 2018 09:55 UTCAlysson Rowan Expert
There are, broadly, two types of mount - permanent and temporary.
Permanent mounts use glues to attach the specimen to some kind of mount (I use ordinary woodworker's glue for that), and temporary mounts (where you use 'mineral tack' to hold your specimen).
The tiniest specimens are almost invariably permanently attached to some kind of support (pin head, pin point, glass/acrylic fibre etc.), and the support then itself mounted in some manner.
At the end of the day, unless you are going for competitive mounting, as Robert says, you make all of the decisions.
What I would suggest is that you get a hold of some beach shingle, and try out various mounting techniques until you are happy with your technique - and only then start mounting real specimens that you want to preserve. Try mounting grains of sand up to pea-sized fragments - the techniques do vary.
Don't be afraid to experiment. Use any material you find suits your needs - I use balsa for the standoffs for my collection. Painted matt black (modelling paint), they can be shaped however you want with fine (400 or 600 grade) sandpaper and attached to the box (I use UHU, but your mileage may vary).
Labels are important. I make my own (print on a laser printer, and cut to size), and attach them to the BASE of the box (use something like UHU again). Use a reference number to refer to an index card (physical or electronic) and put essential details of the specimen on the label too.
Incidentally, those same boxes can be used for small thumbnail specimens, too!

19th Aug 2018 14:49 UTCKevin Conroy Manager
19th Aug 2018 17:03 UTCDonald B Peck Expert
First, welcome to the group. Good advice , above.
The one real expense in micromounting (or micro collecting) is the stereo microscope. In the long run, it pays to buy the best you can afford. Otherwise , there seem to be several upgrades. Many times you can get a better scope on the "used" market.
There is no right way to make a micromount. Like Allyson, I mount using wood glue. The advantages: it holds well and if you later want to remove the specimen, it is water soluble. I glue specimens on a blackened balsa wood peg: easy to cut, shape, etc. and try to have the important part of the specimen level with the top of the box. The purpose of the box is to protect the specimen, but at the same time we don't want to hide it. Aesthetically, it is nice to settle on one, maybe two, styles of boxes, but not necessary. Neal Yedlin, an early guru of mm, was asked what to do if your specimen will not fit in the box. His response, "Get a bigger box."
Allyson touched on labeling and cataloging. Sooner or later you are going to want to keep track of your micros. They multiply like rabbits. I strongly advise, " sooner".
Welcome to the club! And as was pointed out, it becomes an addiction.
Don
20th Aug 2018 01:43 UTCDana Morong
A few hints: 1. when trimming, use a small plastic bag to catch bits that fly off (this was mentioned by Neal Yedlin back in 1948 but I hadn't read it yet by the time I lost a tiny crystal in the rug. Oh, yes, be patient about trimming. Don't try out new trimming techniques on your best material. 2. When buying micromount boxes, first ask others about quality. I once bought from a company that sold me lots of boxes with loose-fitting lids (even though their sales slip said "friction-fit"! I have heard that their quality control is still bad, yet they are somehow still in business). I have lately bought good boxes, more cost, from another company (which I would recommend if it were allowed, but you can PM me to get a reply by Private Message), and prefer them, as the loose ones were a constant nuisance. I now have the loose ones in a box in trunk of car to give away and get rid of them (no, I won't send them to you - you don't need the hassle!). It is worth the money, even though I really don't have so much to spare, to get the good ones that don't cause mental aggravation - "Nothing is a good deal if it doesn't work" 3. Get a GOOD magnifying glass (there has been some posts on good magnifying glasses on mindat in past few years, I think) and use it in the field. A good one is worth the cost. put it on a long string round your belt loop or something so you don't lose it. 4. When you get a microscope, always check it out (or one of the same type and brand) with your eyes first, no matter how well others like it. Eyes differ, and some like one type more than another. One may also need some help in learning to use a good binocular microscope (adjusting one side for eyes that are not evenly sighted, as mine are). 5. Be careful about gluing specimens (or pedestals) directly to bottom of box. What if you want to get it out to look at its side later? A liner is super for this, as one can glue to the liner, and it is held in good when the lid is on, but one can get to it later, if and when. But I have growled when I've gotten specimens (such as old ones from others) glued in bottom of box (sometimes the best side isn't even up) and I cannot get it out, to remount it, without possible damage. A little bit of care beforehand can reduce the amount of growleries!
20th Aug 2018 07:13 UTCKeith Compton 🌟 Manager
Doesn’t look like much trimming is involved for Aidan’s first micro :-))
20th Aug 2018 16:42 UTCDonald B Peck Expert
On Labeling: If I were starting over, I would mot glue labels to the outside of my boxes. I would print "cross shaped" labels on plain paper of light cardstock that fold and fit snugly inside the bottom of a clear box. I would still use the black liners, but put the label between the box and the liner. I have seen other micro collectors do this and it is very neat, with plenty of space. Labels can't fall off over time, and they do not suffer any damage. I think it is a great solution. I would guess that it takes a little design work, if one is to use the computer to print them, but I am sure it can be done.
20th Aug 2018 20:52 UTCRobert Rothenberg
Bob
21st Aug 2018 16:34 UTCDonald B Peck Expert
21st Aug 2018 21:18 UTCMark Kucera 🌟
The referenced books are an excellent start. Are you living somewhere close
to a club or decent sized show? Chances are good that you should be able to find
a micromount collector or dealer. There is probably a finite number of ways to
mount something but that number is large. I'd strongly suggest not mounting
anything important to you until you've seen numerous methods. Some methods
are great - but strongly reduce the potential to ever get a photo (or even view)
from other than directly above the mount. The paper liners can solve that.
Some methods are very good for multiple photo/viewing angles but not very
protective. Plenty of trade offs to consider. There are plenty of micromount
conferences if you really want to see variety. "Plenty" is a relative term, not as
plentiful as shows or clubs but more than most of us can get around to. Drop a PM
is you can't find something local.
Enjoy.
21st Aug 2018 21:44 UTCAlan Pribula

22nd Aug 2018 09:03 UTCLuca Baralis Expert
The use of paper liners looks interesting, and I know it is a widespread system, but I'm afraid it 1) requires a lot of time and 2) the specimen can drop or tap on the lid if the box flips upside down.
22nd Aug 2018 13:39 UTCRobert Rothenberg
I'm not at home at the moment, but will try to post some images this weekend.
I think it was said earlier that micromounting is an individual process (unless entering competitive displays). There has been much discussion at symposia and on other threads of what is the best way to _____ (use of glues, paper liners or not, labeling, etc.. In the end, I believe we each find our own way to make mounts and it works for us. That doesn't mean we cannot be inspired by others.
Above all, have fun!!!
Bob
23rd Aug 2018 02:32 UTCDana Morong
I have heard that some use the 'Perky' boxes (about 30 or 31 mm square) instead, as then less trimming is needed, as well as no liner. This seems like a good way, but once I got stuck on my habit, you know how habits are! It is something to consider, though.
That little book by Milton Speckels is a very interesting little book. I don't know whether there are any still available.
23rd Aug 2018 02:59 UTCRobert Rothenberg
Bob
23rd Aug 2018 15:34 UTCDoug Schonewald
24th Aug 2018 19:56 UTCJoseph Taggart
As web master for the Rocky Mountain Micromineral Association web page, I have collected a number of "hot links" from the internet for mounting techniques, and have posted them here http://rocky-mountain-micromineral-association.com/how_to_mount_micros My current method of mounting is at the end of the above hot link. For those of you who mentioned having problems with loose fitting lids, I also have that problem, so put a coat of black paint around the lip of the bottom part of the box at the same time I am painting the inside of the box. Wait until the paint drys before putting the lid and bottom together!
2nd Sep 2018 21:28 UTCRobert Rothenberg

First, my apologies for the quality of the images - I am not set up to photograph the labels or boxes, and didn't have time to prepare a proper set-up.
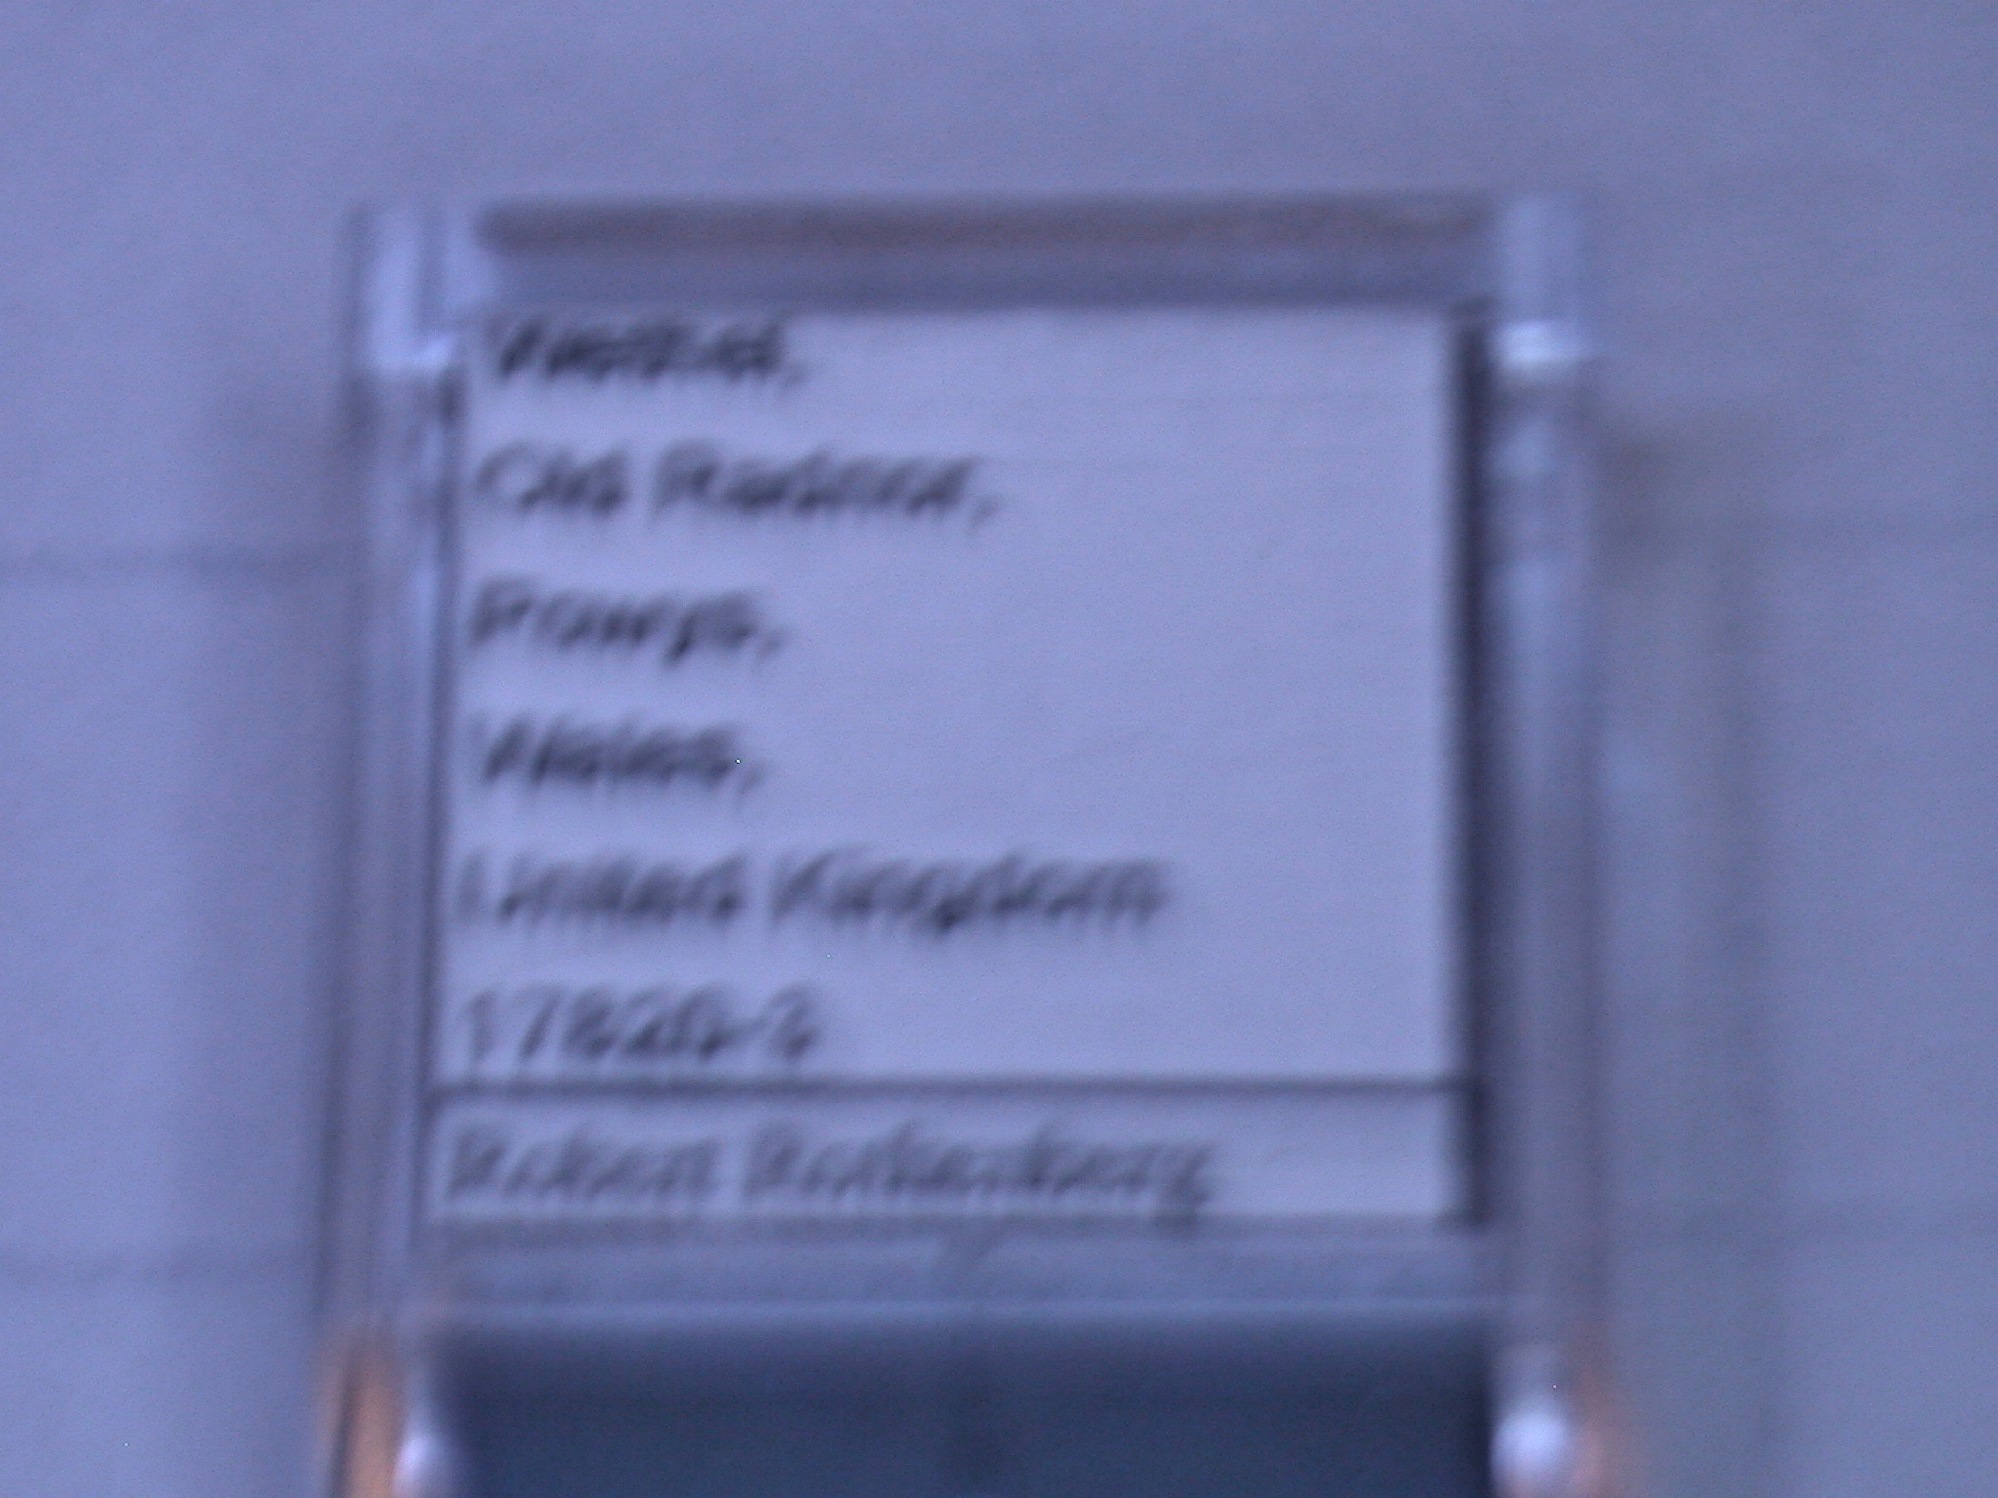
The image marked "label" is what I generally use. I have templates for locations that I use frequently, and for the last few years have been using Mindat locations for all my new mounts. I accumulate 66 specimens before printing a sheet of labels. I have developed a system for doing this and it works for me. I trim the labels with a razor or scissors, and insert 66 of them at a sitting. (I have several of these holding trays, in case I get on a mounting run.)
The images marked Box 1 & Box 2 show the top and front of the box. I will prepare a second message showing the bottom of the box. I like to include the source of the specimen (somewhere about the middle of the label); if it is self-collected, I show the date near the bottom. I also include a specimen number at the bottom of the label (in this case the number is incomplete; 14240 is the number of the chunk of rock, but there were several mounts made. They need to be -1, -2, etc..) The last line is for my name; in this case, Robin Tibbit and I collected material together (which we often do) and I mounted many of them. I included his name as they were mounted before we shared them.
My labels have changed somewhat over time - note that the Anatase font is larger than the Fluorite font. I do sometimes have to vary the sizes of the fonts to get things to fit; it also changes with the software one uses. I like Excel and use an apple; recently I bought a new computer and had to make some adjustments in the processing of the labels. Still, I hate writing by hand, especially multiple labels, and my handwriting is terrible. This has been a wonderful invention for me. (When computers first became popular, I was known to ave remarked: "I cannot imagine why anyone needs a computer at home.")
One of the issues I do have is that the liners are not made by the same peopole who make the boxes and I have to trim a tiny bit off the front edge to get the label to fit properly.
If anyone wants a copy of my template(s), let me know and I will be happy to send some by e-mail.
Hope this is of interest.
Bob


3rd Sep 2018 00:04 UTCTom Tucker
3rd Sep 2018 02:36 UTCDonald B Peck Expert
Don


Mindat.org is an outreach project of the Hudson Institute of Mineralogy, a 501(c)(3) not-for-profit organization.
Copyright © mindat.org and the Hudson Institute of Mineralogy 1993-2024, except where stated. Most political location boundaries are © OpenStreetMap contributors. Mindat.org relies on the contributions of thousands of members and supporters. Founded in 2000 by Jolyon Ralph.
Privacy Policy - Terms & Conditions - Contact Us / DMCA issues - Report a bug/vulnerability Current server date and time: April 20, 2024 03:24:55